visual studio 2019使用net core3.0创建winform无法使用窗体设计器
时间:2020-10-08 13:29:22 | 栏目:.NET代码 | 点击:次
微软发布正式版net core3.0后,迫不及待的想体验一下用visual studio 2019在net core3.0下创建winform程序。创建方法很简单,和以前visual studio版本步骤差不多。
创建完成之后,尴尬的事情发生了,无法使用窗体设计器,双击Form1.cs文件不行,使用快捷键shift+F7也不行,在网上找了很久,发现好多人都遇到过这种问题,目前有两种解决方案
方案1 项目中创建多目标框架,包含net framework和net core。
打开csproj文件,将目标框架更改为net452和netcoreapp3.0。最终修改结果如下:
<Project Sdk="Microsoft.NET.Sdk.WindowsDesktop">
 <PropertyGroup>
  <OutputType>WinExe</OutputType>
  <TargetFrameworks>net452;netcoreapp3.0</TargetFrameworks>
  <UseWindowsForms>true</UseWindowsForms>
  <ApplicationIcon />
  <StartupObject />
  <AutoGenerateBindingRedirects>false</AutoGenerateBindingRedirects>
 </PropertyGroup>
</Project>
注意,必须将TargetFramework更改为复数TargetFrameworks。
更改完之后,系统会提示Application未包含“SetHighDpiMode”的定义”和“当前上下文中不存在名称“HighDpiMode”
这是由于net core3.0加载窗体程序时多了下面一行代码:
Application.SetHighDpiMode(HighDpiMode.SystemAware);
我们只需要用#If过滤一下即可:
   /// <summary>
    /// The main entry point for the application.
    /// </summary>
    [STAThread]
    static void Main()
    {
#if netcoreapp3_0
      Application.SetHighDpiMode(HighDpiMode.SystemAware);
#endif
      Application.EnableVisualStyles();
      Application.SetCompatibleTextRenderingDefault(false);
      Application.Run(new Form1());
    }
  }
方案2 添加winformsdesigner插件
创建winform core程序,点击扩展?C>管理扩展,打开扩展管理窗体,选中联机,搜索winform designer。选择安装即可。
或者手动下载:winformsdesigner
参考地址:https://github.com/dotnet/winforms/tree/master/Documentation/designer-releases
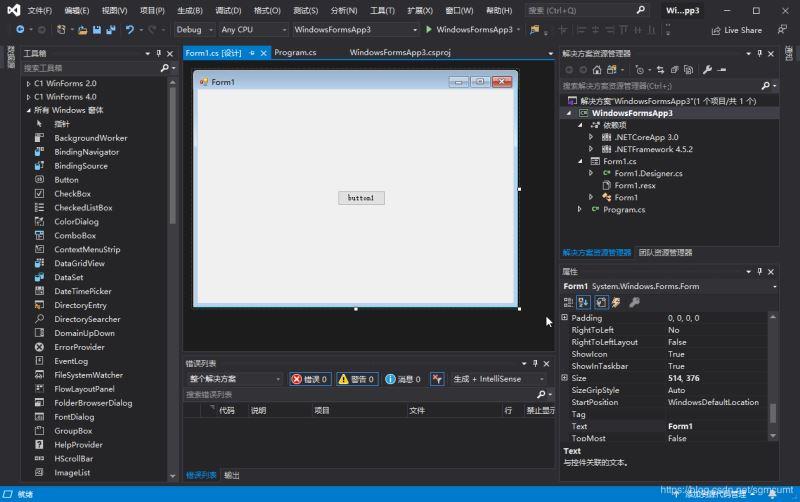
添加完之后,期待已久的窗体设计器就可以出来了。

我目前使用的visual studio 2019的版本信息
